Monday, May 20, 2013

Detail time!

5-16-2013

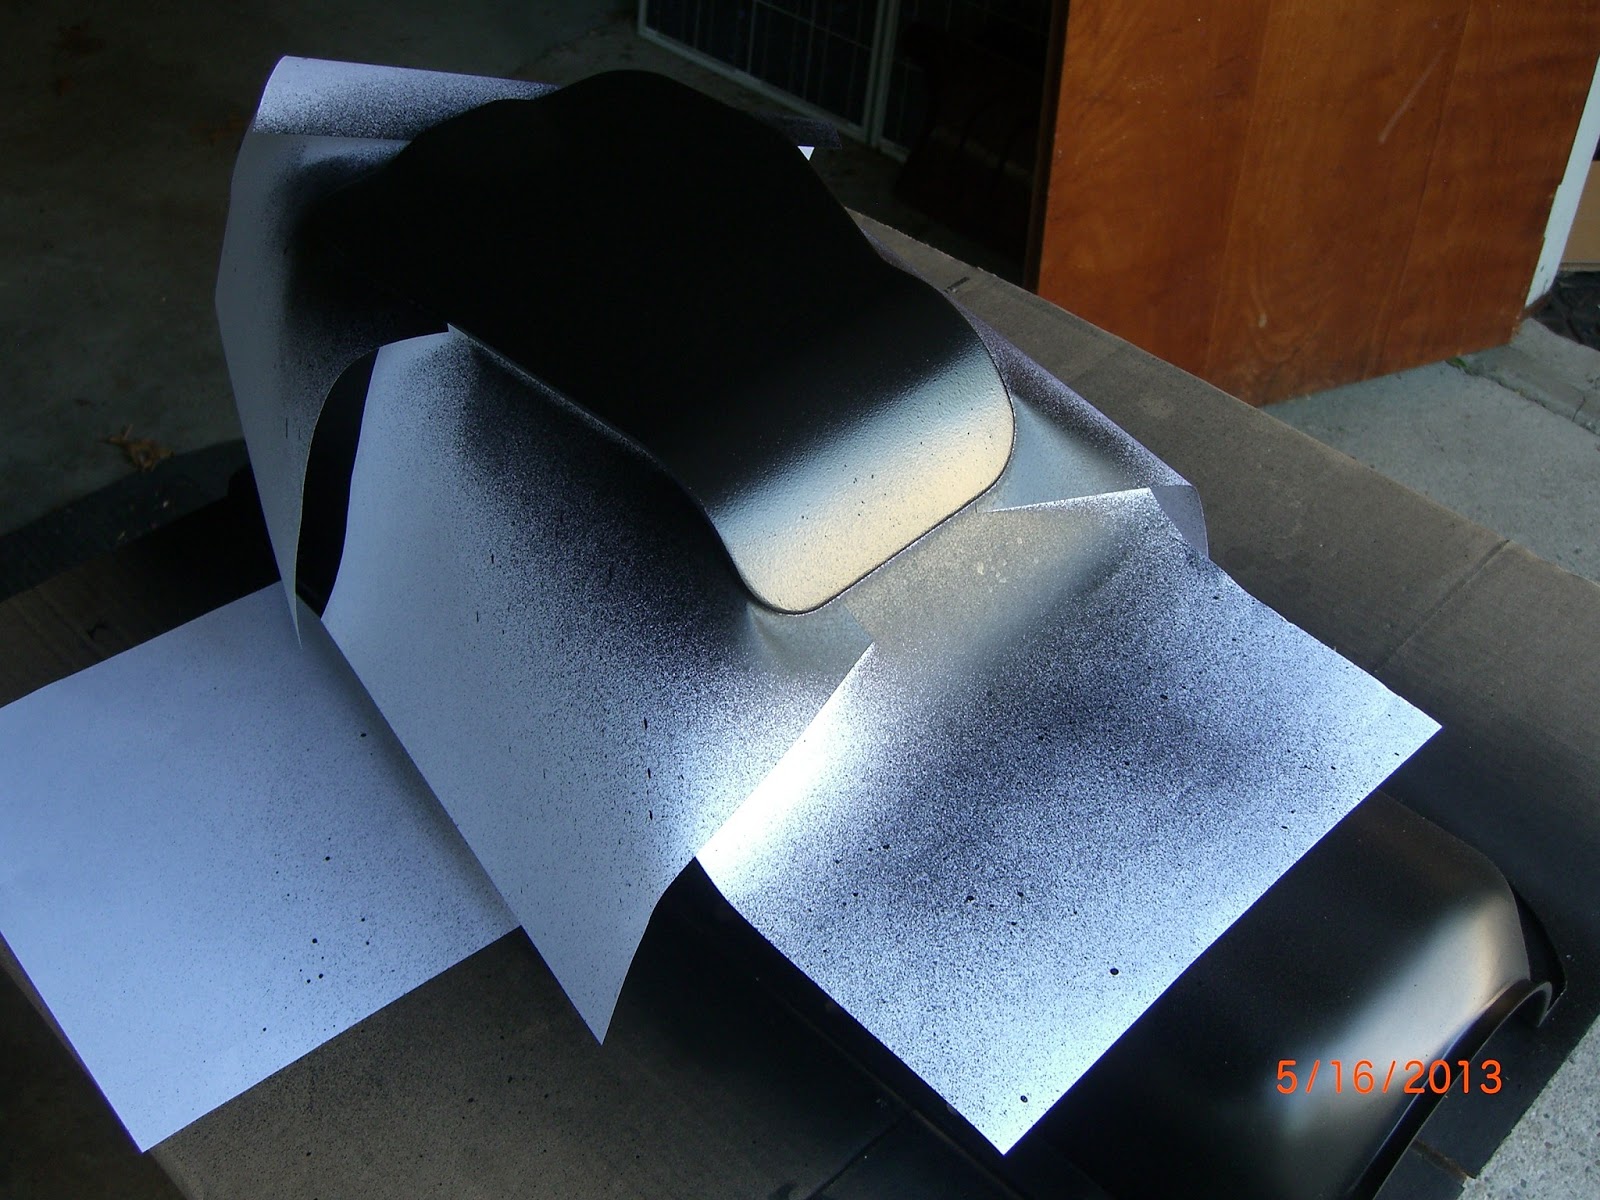
Paraphrasing Little Red Riding Hood's Grandmother, "Oh, what a large oil pan you have!".  Said the sly wolf, "Better to climb a mountain with!".

Eight quart capacity, that is.  Makes using synthetic a drag, and if you so desire letting the shop do your oil change, it's hilarious to watch them check under the truck to see if there are leaks as they add more and more :-)

Here's a few before and after.  Notice I used a chip proof paint on the stone guard.


Also prepped the engine for paint...


Lot's more going on with detailing small parts, but I'll save those pics for tomorrow.

Thursday, May 16, 2013

Turning the corner!

Today, I think I've finally made the bend around that last corner of the track and started heading for home.  Instead of tearing down, grinding, cleaning and otherwise covering myself in 33 year old carbon, the rebuilding process has begun.  Yahoo!

Here are a few of the piece parts of the engine, detailed and finally in paint.  Notice the oil pan has a rock guard that is spot welded in place?  Other items in the picture are the oil cooler, timing gear cover (with front main seal removed for painting), side cover and harmonic balancer.  The covers were "coerced" back to there original shape after years of overtightening before a soft grinder was used to remove all traces of the old petrified gaskets.


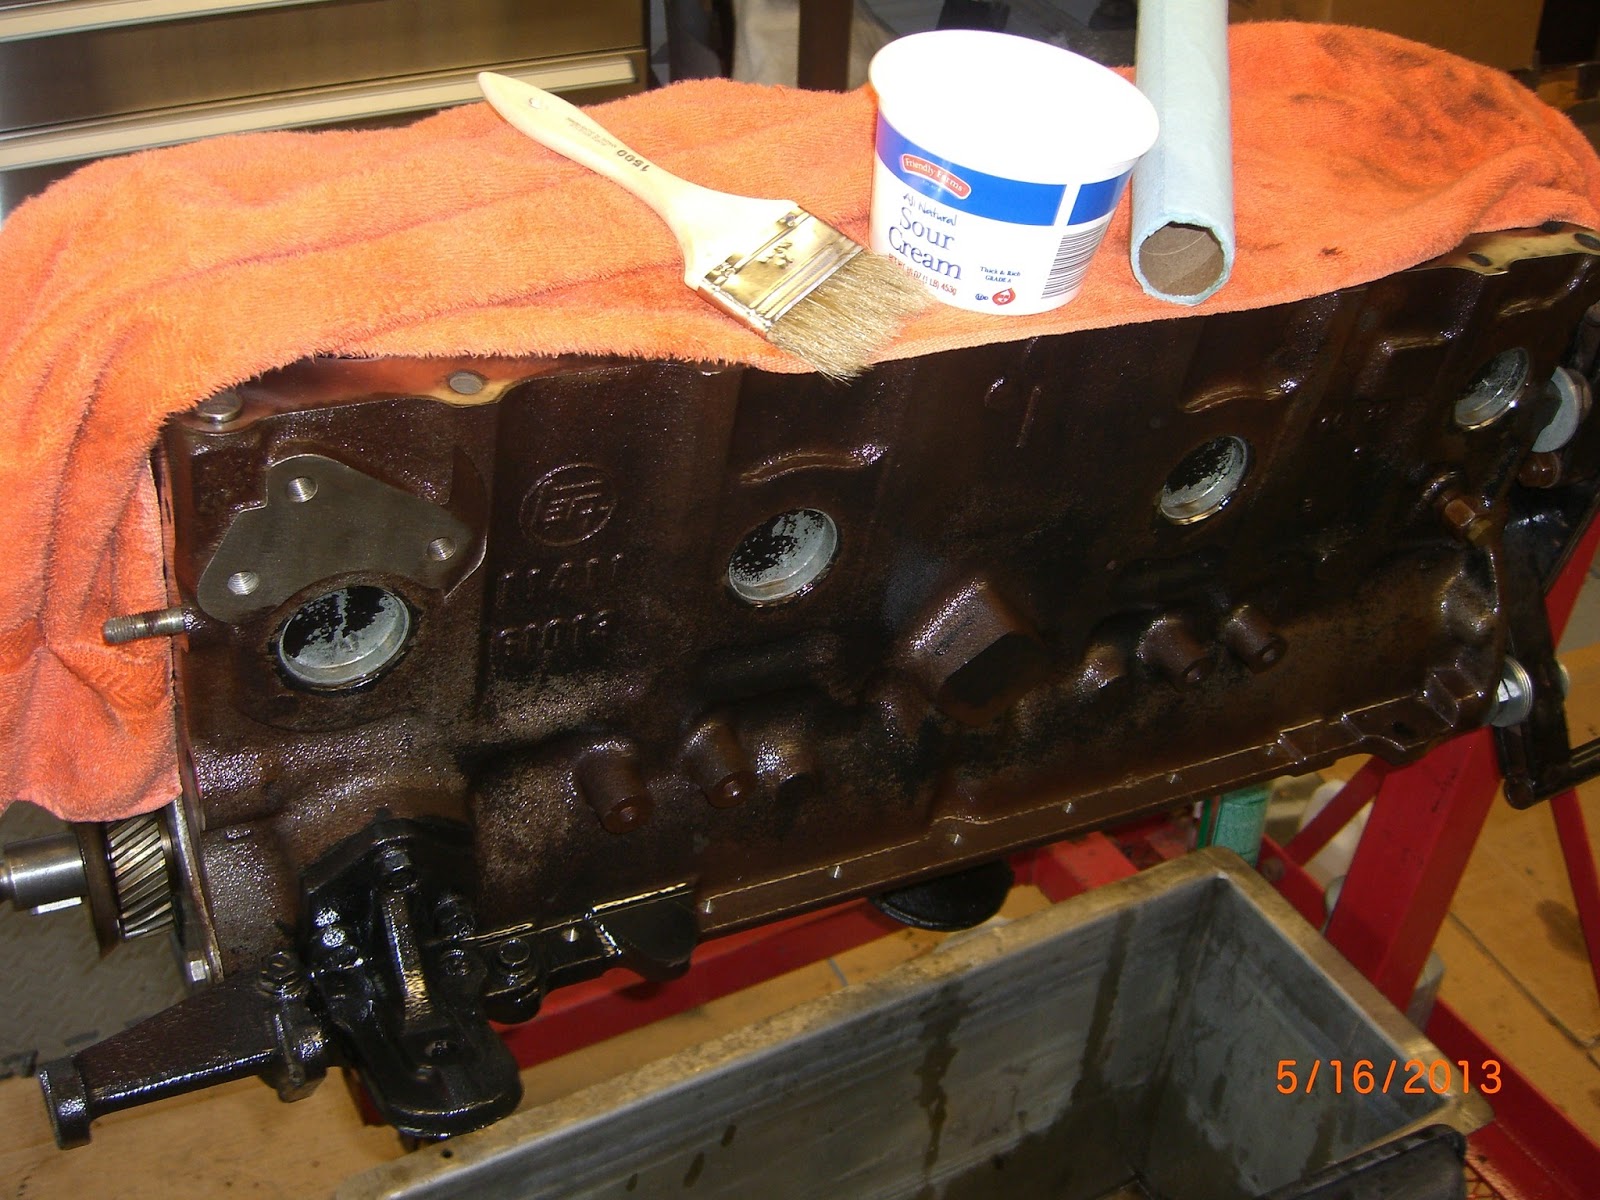
For the pan, no matter how many times I've tried to flush old oil from the gap behind that guard, more keeps running out.  Can't get paint to stick to that!  So, last night I put a "diaper" on it and filled the "diaper" with mineral spirits.  Today, I should get some paint on that.  Here's the "diaper":


Nice new paint!


The balancer and the engine mounts were done in POR-15.  Stuff is liquid armor!


Me thinks the engine and drive train will be ready for replacing into the frame this weekend!  Fingers crossed.


Wednesday, May 15, 2013

More Engine Stuff

Sent out the flywheel for resurfacing.  Interesting spots where there had been some clutch overheating, although nothing out of the ordinary.


The original design of the Land Cruiser was a knock-off of the Willys-Overland GPW ("jeep").  There are some really cool details that trickled through into late models like mine that show just how little things changed through the years.  Check out the fascinating history of the Toyota "Jeep" here: http://www.toyota-global.com/showroom/vehicle_heritage/landcruiser/

One of those cool old features is the hand crank (think Model-T) capability.  The curious crank coupler holding the harmonic balancer/pulley in place is a 46mm size.  The locally available SAE 1-3/4" and 1-13/16" 12-point sockets just didn't cut so off to Amaz** I went for a 46mm socket.  After a few seconds with my impact driver, I had the nut in hand.


Now a simple puller and another few minutes and the pulley is off...

 Shown taped for eventual painting


Now the timing gear cover.  No fancy belts or chains here!  The front crank seal is in the cover and there is an important gasket to replace.  Otherwise nothing to do behind that cover.


Next the oil pan.  Grrrrrrr......  This little beauty doesn't seem to have ever been moved since it was installed in the Toyoda factory in February 1979.  The gasket was petrified and immovable.  But, with some 6 hours of patience, a slim knife, and some (very) valuable assistance from my pal Orlando, it finally succumbed to my will.


The rear main seal.  I've stared at it and wondered, "How the heck do I get that thing out?".  This is why I lean so heavily on my mechanic friends!  Pull the rear (#4) main bearing cap, dummy.  Out pops the old seal, in pops the new, tighten the cap screws to 90 ft-lbs and voila... 20 minutes and NO SWEAT.


Sunday, April 14, 2013

Getting dirty - Engine and Transmission

I have been staring at the engine and transmission/ transfer long enough.  I swear I built the engine stand the way I did because I must have known that it would sit, beckoning me, for so long.  It would have been heartless to leave this mighty old sole under a tarp in the back yard, I think.  It was time to pay some attention to her and her mate!

I have received the head back from the rebuilder, and it looks great.  The block is so jealous, but understands my budget constraints.  The rocker assembly got a dunk in solvent and after drying gets a spray of oil.  It's ready to go.


Until I receive my 46mm impact socket needed for the crank harmonic balancer/pulley, I can't look at the timing gears and replace the front seal, so today I removed the pilot bearing from the crankshaft.  Slide hammer and a full taps and out it popped.


Now, time to face down the transmission demons.  Here is a pic of the pair on the bellhousing before removal.


Now on the bench.  Two angles.


There is a lot to this project, and the first step is to separate the transfer case and transmission.  This requires removing the five attaching bolts.  Two of these are inside, under one of the covers (seen in the first picture below where the date is shown).  Unfortunately, I was so involved in the process that I never thought to take photos of the operation.  But here are a few of the postmortem.  Note the cover removed, then the main drive gear, which slides over the output shaft of the tranny, sitting on the bench.  Also note the front drive output shaft on the transfer (aluminum) which is hidden behind the transmission in all but the picture showing the pair mounted to the bellhousing (above).  You WeatherFlow fans might notice that my shop doubles as a home office ;-)


The following pics are of the output shaft of the transmission.  There is some deformation in the splines that could be a problem.  Grrrrr.


On the output of the transfer is the drive gear for the speedo.  This is a tricky little bastard as they are no longer available in varying pitches, but oddly the driven gears are.  Hmmm... Now there is some literature which says some driven gears work OK with the stock transfer and some others don't.  And since I am going with 33" tires, I'd really like the speedo to read close to actual if possible.  But, since the literature is mostly anecdotal, this experiment might be tedious and/or expensive (parts often come from dubious sources that don't give refunds).  Based on the evidence I bought a 16-tooth gear that should work, and I'll be mating the two to make sure... IF I can find it!  (I have over 50 boxes of parts and hardware, some marked, most not)


Stay tuned!  Next time, new seals, gaskets and drop the oil pan.

Saturday, April 6, 2013

Finally into the engine

The 2F Engine (rebuild-lite!)

When I bought this truck, I was pleasantly surprised that the engine, a stock 4200cc Toyota 2F straight-six, actually appeared to have been properly mantained!  I found very good compression and great oil pressure with only a smidgen of oil consumption between oil changes (one per year).  I did some minor maintenance to keep things in order but have driven the truck without problems for over five years.  Nevertheless, restoring Myota without giving the engine a once-over would  just be wrong.  At least that's what I thought.


Since beginning this restore, the engine had been resting on my home-made mount tucked away in the corner of my workshop while I contemplated my next step.  The budget was always tight and the engine ran perfectly fine, so I really hadn't been able to make up my mind what to do with it.  I kept it dry and lubed and waited for a sign from God.  Well, that never happened, so I eventually decided to do a rebuild-lite.


After removing and sending out the head, I began stripping the block.  First, clean (scrape) the old head gasket remains, then clean the deposits from the piston crowns and the surface of the block.  Yuk.


Then remove the side cover (cool huh?) and clean the residue as best I could.  Very carefully I removed each lifter, one-by-one, cleaning and re-installing (lots of lube).  All remnants of the gaskets were shaved away and vacuumed.


Next steps: Remove the oil pan and replace all seals and gaskets.  Stay tuned!