Sunday, June 22, 2014

Road Worthy!

The Final Stretch

When last we spoke, I had run the engine and completed all the major assembly of the body panels.  During the past few weeks, I've had some ups and downs getting the truck road-ready, and even with a few warts, she's very drive-able though not quite ready for prime time.  Here is where we are:

Brakes

I had replaced the brake master cylinder a few years ago and during the installation, had a dickens of a time bleeding the brakes.  With some help, I finally got rid of the spongy pedal and all was good.  There were many long silent moments of doubt, I recall, because I KNOW how to bleed brakes and have done this many times on several vehicles.  Now here I am again, struggling to purge all those bubbles.  And I am still not satisfied.  I've had lots of help, and I am still confounded. I'm letting the shop where I am taking it for some final services figure this one out.

Floor mats

After weeks of agony and despair, I found my floor mats.  They are extremely rare and, if available, very pricey. They were in a box we had saved for a mini-trampoline and stuffed between some sleds and a toboggan in the last place on earth I thought to look (and only after Nancy insisted).  Whew!  That was a close one.  The photos show the mats before I had a chance to clean them.


Carpeted mats cut to fit and to protect the rare vinyl mats
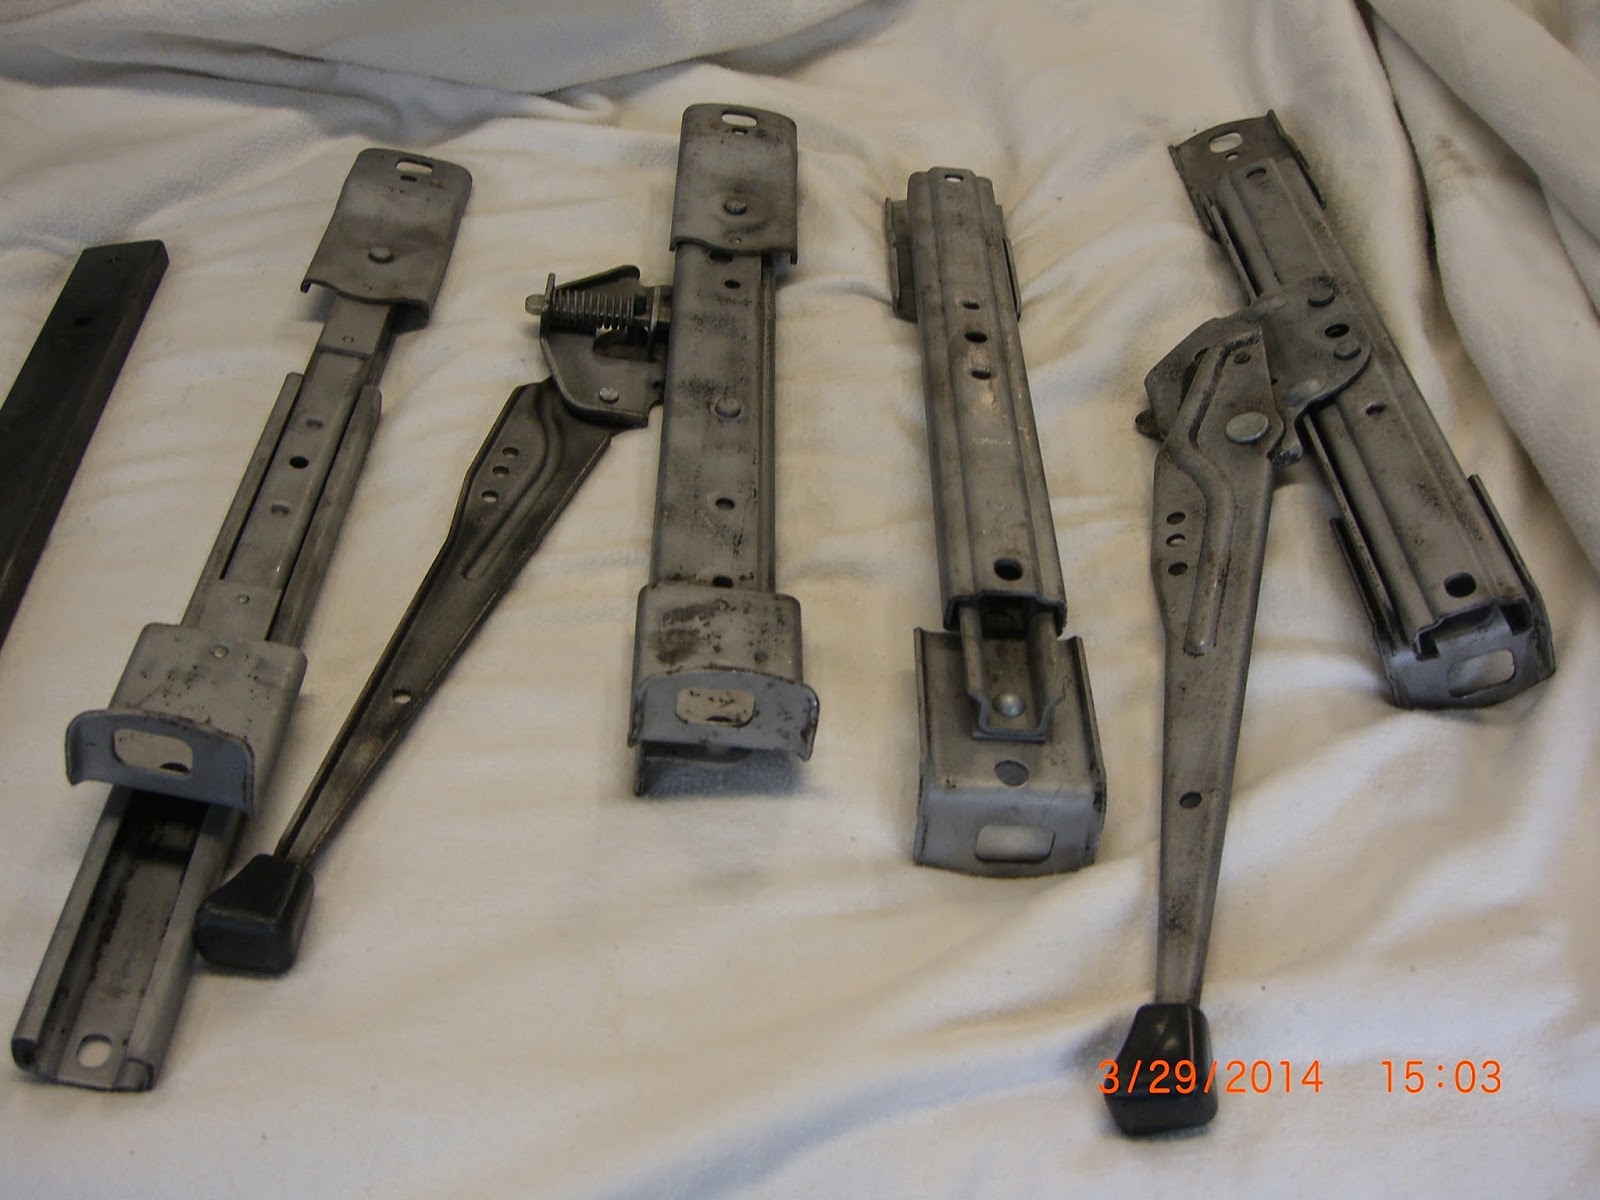
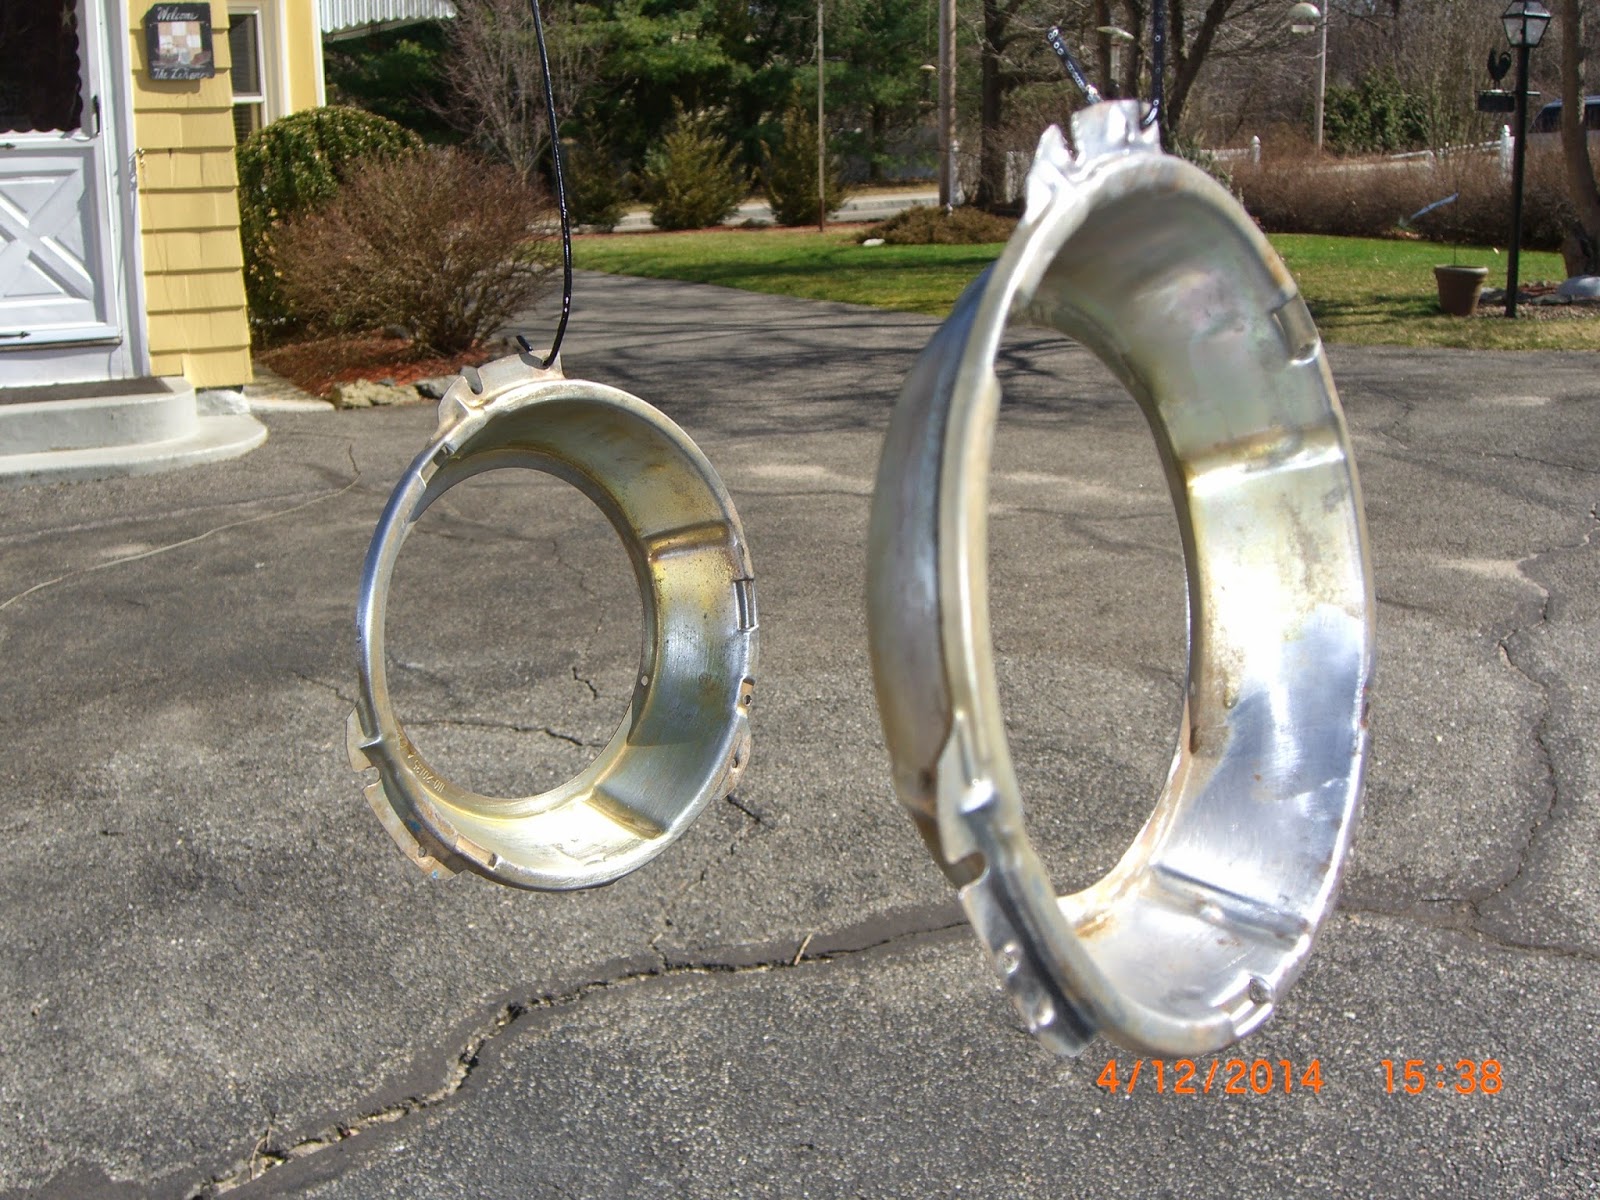
Spare Tire Carrier

The tubular carrier is a unique style to the later model trucks and they are quite robust.  The posts are pressed into the brackets and mine were so tight I could not get them apart.  I had bought new plastic bushings and wanted the hinges snugged up, but the perfect paint was making slamming the pins out impossible (I tried).  So before I ruined the finish, I came up with a solution.  My light tapping had moved the pins about 1/8" so I bought 5/8" ID nylon washers, sliced part of the washer away to make it look like a "C" clip and popped them above and below the pivot.  Tightened it up nicely.  Then I fashioned some gray rubber gaskets for the mounts and bolted it up.


Then I used stainless hardware to install the latch, placed the new rubber bumper on the latch handle, installed the newly painted spring and completed the carrier.


I had lost the plastic adjuster for the hand brake (how is a mystery) and broken the knob for the transfer, so both were purchased from SOR in Chatsworth CA.  Looking good new!


COMPLETE!!


NEXT STEPS

Power Steering Pump -  I'm not getting enough pressure in the system and I've decided to replace the pump.  I can't quite understand why the pump died, as it was okay before storage.  I've gone through and verified that the fluid is unrestricted and moves through the system unimpaired.  I did run the pump for several minutes with insufficient fluid so it's my fault.  Costly mistake.

Rear Differential (Third member) - The rear dif was always sloppy but it appears that my amateur attempt at a repair was a bust.  The vibration and noise is too much to bear so I sent off for a remanufactured differential and that should be here this week.

Tires and wheels - I found a shop that speaks my language and is the very same ownership that helped my pimp my first Land Cruisers way back in the dark ages.  I was a bit shocked to find the brothers still both actively involved in the shop, and they know these vehicles.  So, they are going to recommend and install a set of tires on my stock wagon wheels, install new tie rod ends, perform an alignment, purge those pesky brakes, and install that new differential.  We hope to get that all done this week or next and be ready for a Japanese only car show in July.  I'll report back as I make these final repairs and later when I finish the roof.

EBAY

Lastly, I am selling a bunch of my old and leftover parts on eBay and it is mind-boggling just how valuable my old parts are.  Parts I figured were ready for the trash can are fetching crazy money.  Go figure.  Good thing, because that power steering pump was an unplanned expense and it wasn't cheap.

See you all nest time!

Wednesday, June 4, 2014

This little post takes the cake!

Hood Safety Latch

When one takes on a project like this one and does so with extremely limited space (and help), things don't always go as planned.  My parts were all stored in boxes that were labeled best I could with their contents.  But some of the parts got tossed into crates and bags without such tagging.  And this is how this very interesting set of events took flight...

(literally, as in air mail)

I had recalled when I removed the cadmium (yellow) plated hood safety latch years ago that it was missing some of the plating and was beginning to rust.  Now it was time to install the little bastard and I could not find it.  It wasn't so bad that I couldn't sell it on Ebay, but I couldn't waste any more time looking for it, so while browsing the FJ40 parts on... Ebay... I came upon a NOS Toyota latch for sale and even though the prices was steep, I reasoned that there just aren't that many around, so I bought it.

Weeks went by and I began to think I had been scammed for the first time buying parts (we Cruiser-heads are an honest group) when...

A little box with a bunch of odd stickers and strange script arrived at my door:


Yes, Tehran, IRAN!!!


The address side (how I know it came from Tehran) with the return address is way cool, but I clearly cannot show you!  I wonder just how many x-rays and German Shepherd noses that little box endured in it's passage.  I do believe it was still warm when I got it!  And, I've been expecting a knock on the door ever since.  (Maybe I've said too much...)

So, here's the subject part:


And by the way, I have since found my old part and (drats) it was in very good condition.  Look for it soon on Ebay!

Frustrating body panels! But, says he, WE SHALL OVERCOME.

Fitting the remainder of the front-end body parts

The fenders were a little work and the bib (the part in front of the radiator) even more.  But the small valences that sit up on either fender and complet the "box" that the hood sits on were a total nightmare.

And it was only after I tried to fit the hood that I found out why I had struggled so much.  The body tub had been bumped and the projecting "wings" sticking out from the firewall were not true.  Uhg!

Some pix:

Left-side valence


What?!?  No holes for the badge?  Paint shop thought they didn't belong?

Drill them out, then apply copious amounts of metal primer
After installing the valences to both sides, discovering and fixing the missing holes for the chrome TLC badge, I fit the hood and discovered the misshapen tub.  I did sweat a bunch, but in the end it was super easy to tweak back into place, as eveidenced by the "after" photos.

Looks good up here!

But, notice how the finned part (the tub) angles "in"

ANd though it's hard to see, the hood projects right off at an angle at the front.

Before
After (odd how the lighting played with the blue!)

Windshield, bumpers and seat belts

For two+ years the windshield and its gasket (and all the other glass and gaskets) have been on the floor of our 3-season rec room off the garage, and the mice have made a party of all the nooks and crannies it formed.  I think there was more insulation between those parts that was left in the walls.  Jeez.  Luckily they didn't chew the rubber!

So it was time to set the glass and gasket into the frame and that went off without a hitch.  It was my second time and I was an expert!


The defrost deflectors uninstalled

Wiper linkage

Bumpers!


Properly referred to as "bumperettes"

You see now where the NTSB came up with the 5 MPH bumper!  Crumple zones!
Seat Belts (rear shown as I wrap them around the seats to keep them from bouncing around)


New Stainless (wow) hood hooks


New SS windshield hooks.  I've driven this truck once at 45 MPH with the windshield down and lived to regret it!


Two shots of the column cover


Getting closer as we get her running!

There is light at the end of the tunnel

I have stayed away from posting simply because I'm lazy.  I have accomplished a ton of major and minor tasks and gotten nearly to the point when I can hit the road.  To be honest, I barely devoted the necessary time to the rebuild and just didn't feel like spending another set of hours writing.  I decided that there is just too much to post at once (and I really don't want to lose my audience!) so I'll break up the posting into bite sized pieces.

When we last saw one another I had pretty much completed the electrical wiring and the cooling system (all but the radiator) and there was a glimmer of hope that I might actually drive this sucker again.  The good news is that I am on track to do just that, but the bad news is what I thought would take a few weeks (conservatively, mind you) is taking months.  As the old saying goes:  "If I didn't have bad luck....."

Okay so what took so long?  Let's start with a promise that I would complete the cooling system and I'm a man of my word...

That's the battery charger cable (red/black)


Minutia

Then, it was if all the remaining little forgotten projects developed a devious and mischievous intelligence, when one day I began opening all those left-over boxes way up there on the top shelf and each in turn began screaming, "Pick me, pick me!!!!".  It was a cacophonous!  Those little suckers were coming out of the woodwork!  I honestly thought that I had kept up.

It started when I realized that ya' gotta' have seats if you ever hope to drive this beast.  Now, mind you, I've owned the truck for 9 years and during that time I was picking away on the worst areas of need.  I thought my old restoration of the seats and seat frames was good enough.  Nope! Luckily, what was underneath the upholstery looked okay, so I sandblasted the frames and gave a good ol' coat of black.


Then came those absolutely FIVE STAR safety rated and NTSB approved child seats in the back that set this truck apart from the competition when it comes to self-preservation.  Now these I had done over in the fall last year, so luckily they just bolted in.  And of course dropped once just to leave a few paint-free blems to prove once and for all that I am NOT suicidal.


Sorry, no pic of the seats down (yet)


Bib and fenders

There are very few pictures of the actual day of installation of the front end body parts.  It's a long story... you have to use your imagination (and wonder if maybe I was suicidal after all).  The parts are an inexact fit and you need to have patience.  Anyway here are a couple of that day.


And that led up to this!!!!!


Woo Hoo!!!!!

Lighting

I'll finish up this post with some photos of the lighting resto and installations.  Everything (except the headlight "buckets") was brand new and bolted up and worked like it should.


This photo shows the turn signals but also gives away the next post.

See you next time!